首页 > 文章专栏 > 正文

如何使用 Gmail 和 Google Workspace 绑定自定义域名搭建专业企业邮箱?

建立好网站之后,企业主最迫切需要的就是一个带有自己商业域名的专业企业邮箱(例如 john@myphotostudio.com)。专业的企业邮箱不仅能大幅提升客户信任度,也是进行商务沟通与外贸拓客的核心工具。

在本文中,我们将手把手带你通过 Google Workspace(原 G Suite) 结合 Gmail 搭建属于你自己的专业域名邮箱。
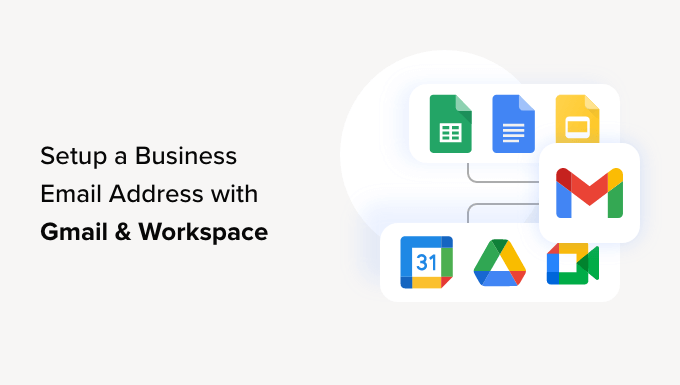
How to setup a professional email address with Gmail and Workspace

一、 为什么要选择 Google Workspace 搭建企业邮箱?

虽然绝大多数托管主机也提供免费邮箱,但它们的邮件服务器到达率低,极易直接掉进客户的垃圾箱。使用 Google Workspace:

  • 享有 Gmail 顶级的安全防护与垃圾邮件过滤。
  • 高达 99.9% 以上的邮件送达率。
  • 无缝对接 Google Drive、Calendar 与 Meet 视频会议。

二、 手把手配置步骤

1. 注册 Google Workspace 账号

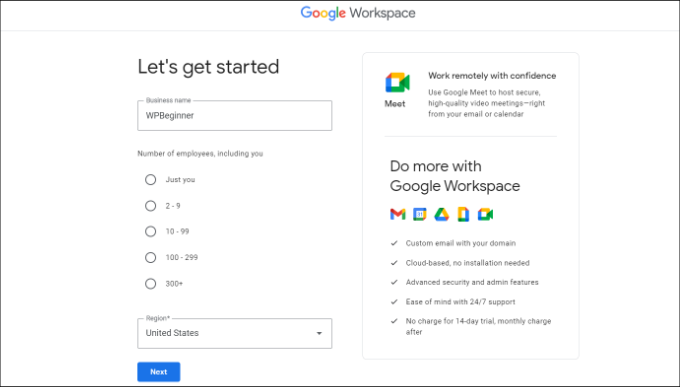
打开 Google Workspace 官网,选择适合的套餐,选择员工人数与国家:
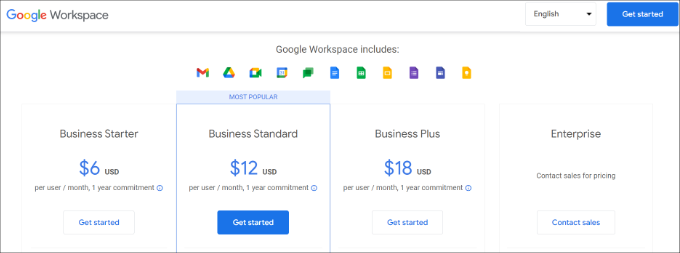
Select a workspace plan

Enter a name for your business in workspace

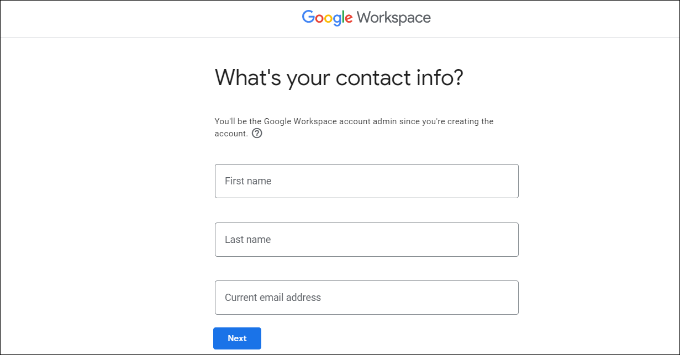
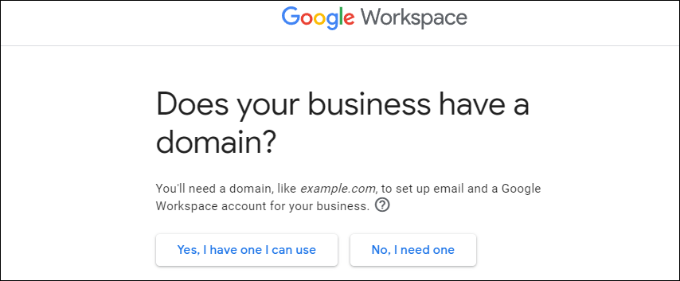
填入联系人姓名与现有电子邮箱,并选择“使用现有域名”:

Enter your contact info

Do you have a business domain

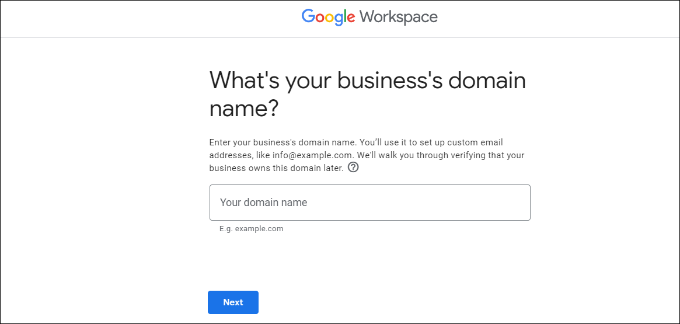
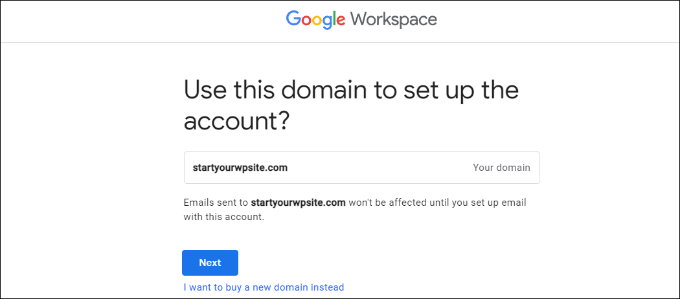
Enter your business domain name

Confirm your domain

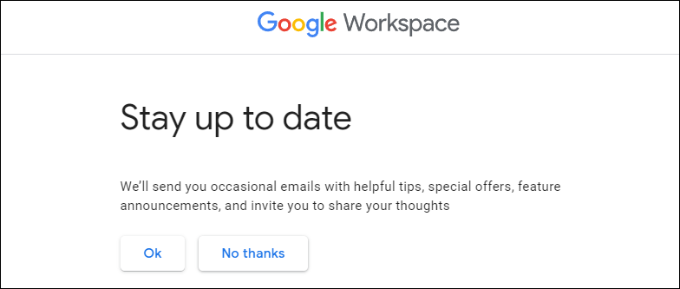
Stay up to date with updates

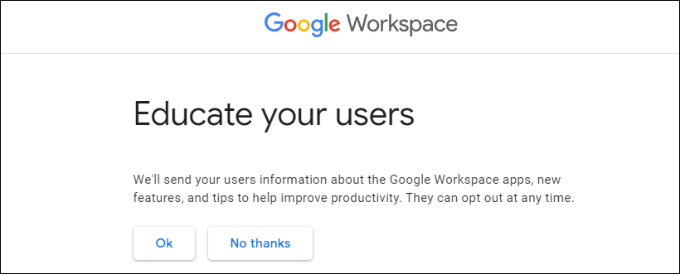
Educate your users

2. 创建管理员用户账号与控制面板登录

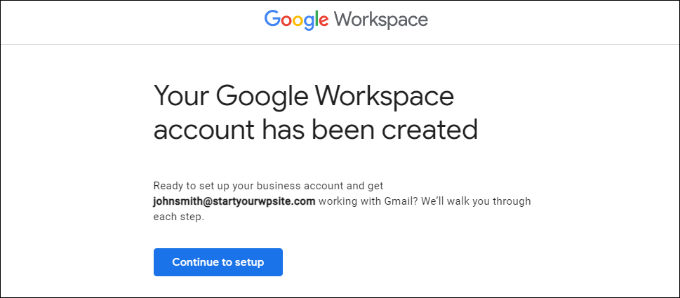
设置第一个企业邮箱用户名与密码,同意条款后进入 Admin 控制台:
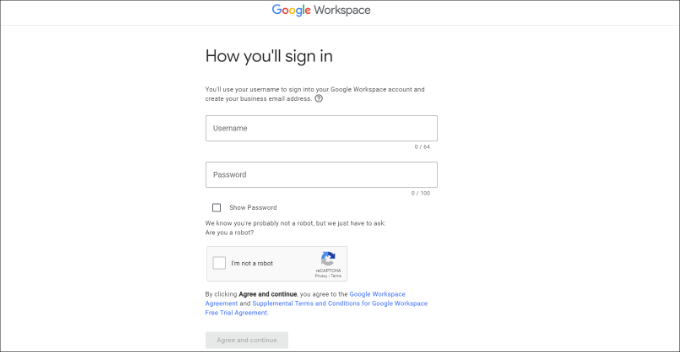
Create first user in workspace

Setup your account

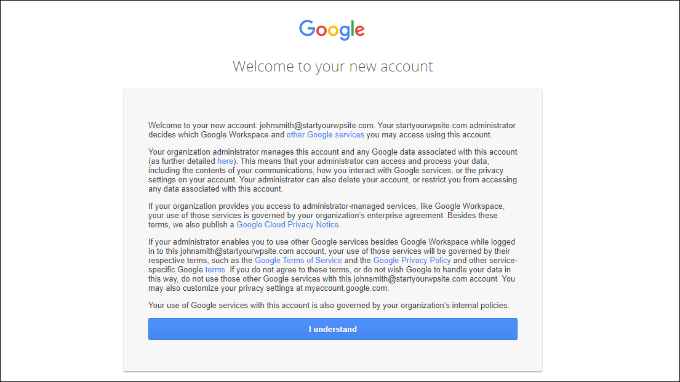
Agree to google services

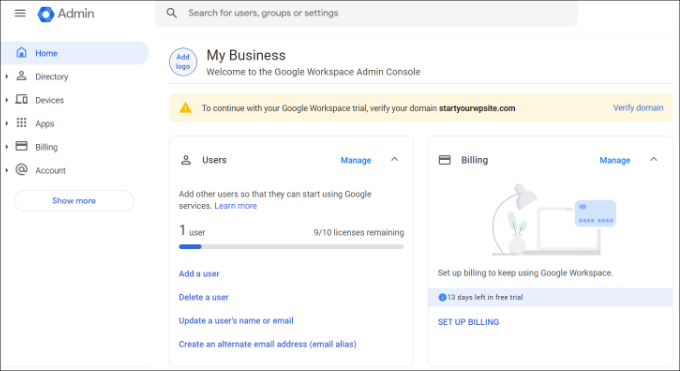
View the admin console

3. 在 DNS 中验证域名所有权 (添加 TXT 记录)

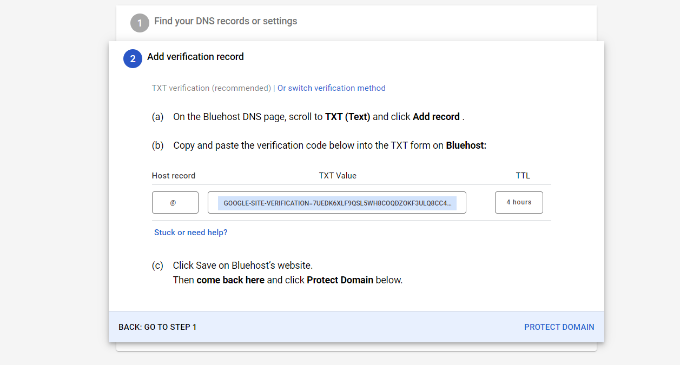
去你的域名主机服务商 DNS 管理面板添加一条 TXT 验证记录:
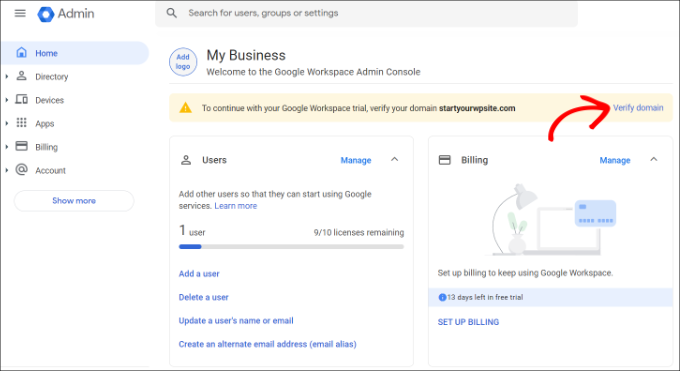
Verify your domain name

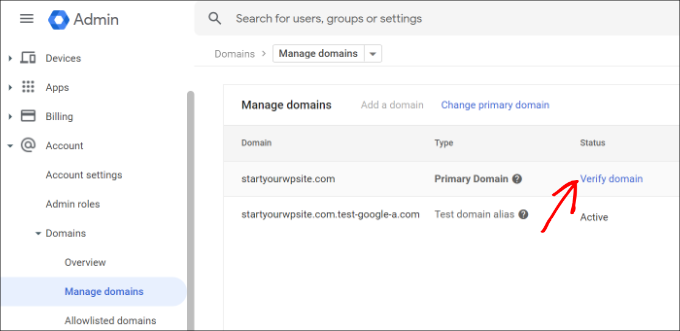
Verify domain from manage domains settings

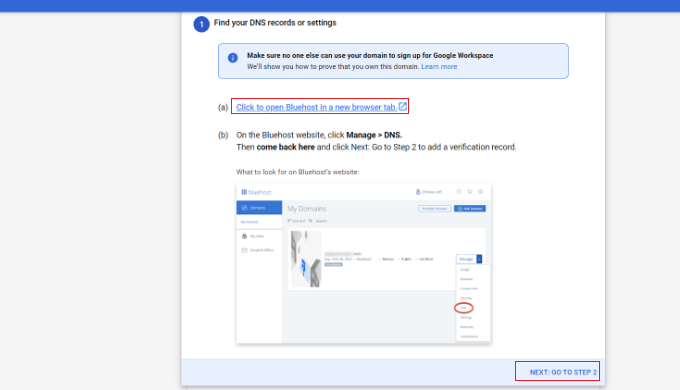
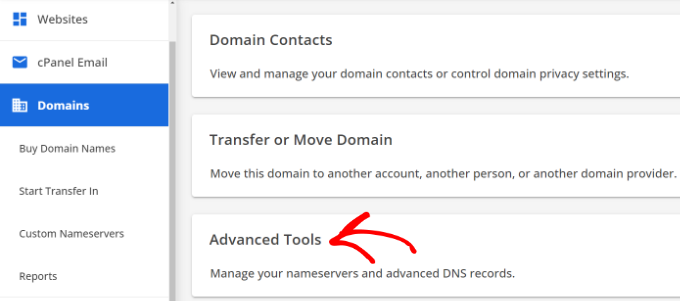
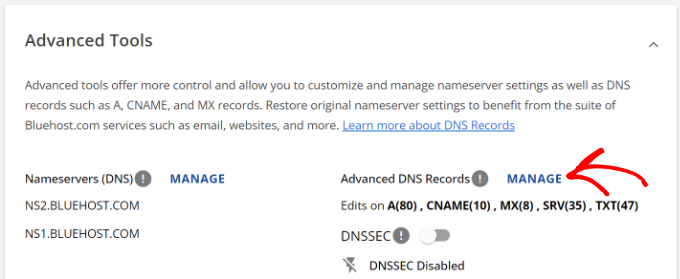
Open DNS settings in Bluehost

Open advanced DNS settings

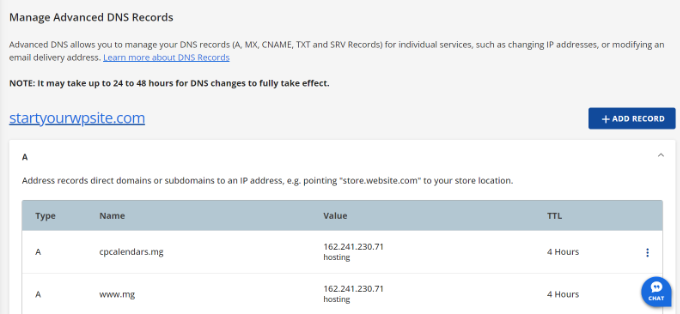
Manage advanced DNS

Manage advanced DNS records in Bluehost

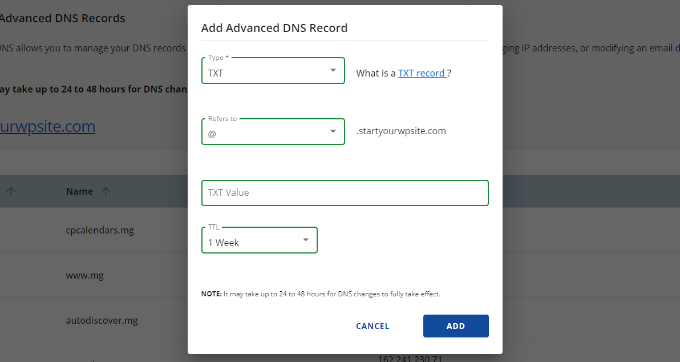
Add advanced DNS records

Copy the txt details

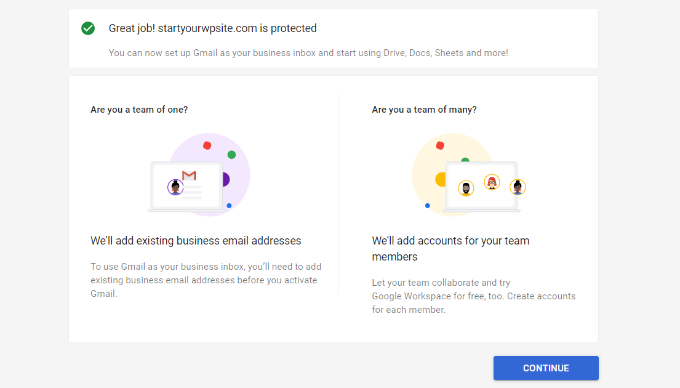
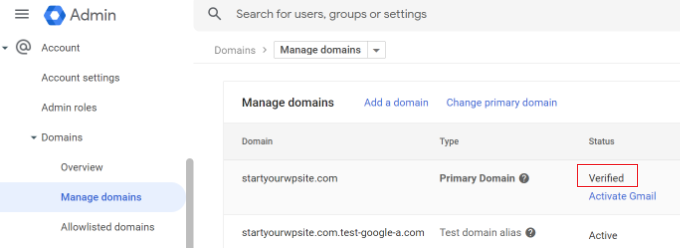
验证成功后即可使用 Gmail 界面收发域名邮件:

See domain verification message

See domain is verified

文章标签:#DNS验证#Gmail#Google Workspace#WordPress#企业邮箱

版权声明:本文为「猫哥建站」的原创文章,遵循 CC 4.0 BY-SA 版权协议,转载请附上原文出处链接及本声明。

本文链接:https://maogeo.top/blog/如何使用-gmail-和-google-workspace-绑定自定义域名搭建专业企业邮